To enable custom views, you must install the custom views module. Go to Develop > Add Modules. Scroll down to "Custom View By Reports" and click "Add module".
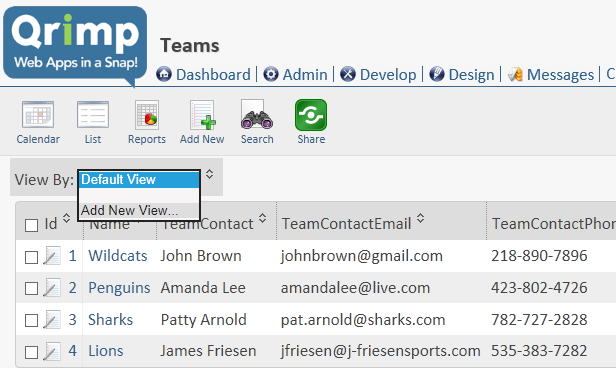
To add a new custom view, go to the
grid view of your table. At the top of the page you will see a drop down that shows "View By". In the drop down, select "Add new view".
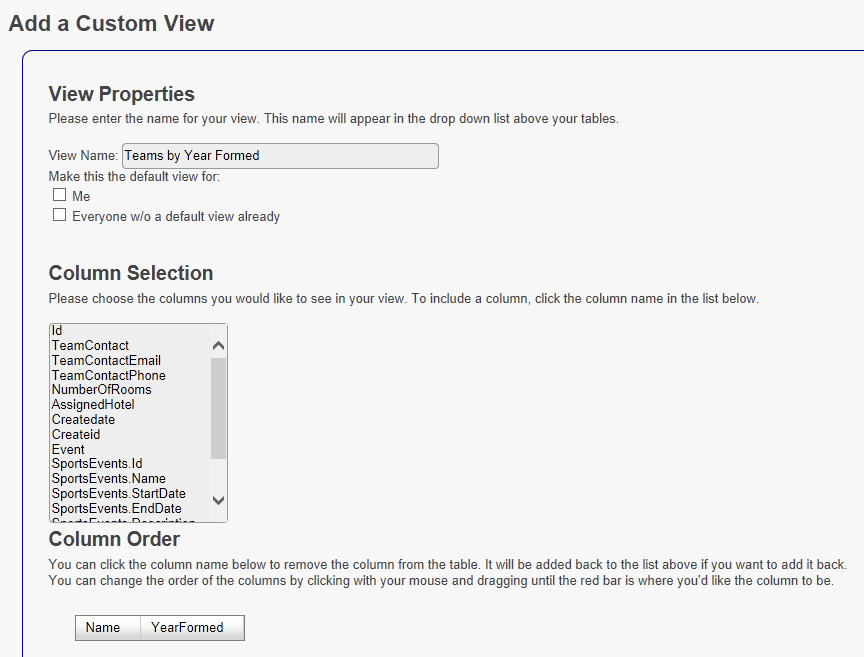
Enter a Name for your view and select whether you want to make it the default view for yourself or all other users. Choose the columns you wish to appear in the view. Put the columns in the order you would like them in.
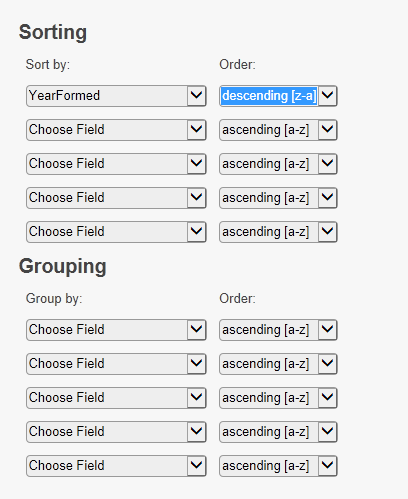
If desired, you can add further sorting and grouping to your columns.
Note: You must select a column in the GroupBy section in order to add totals for your view.
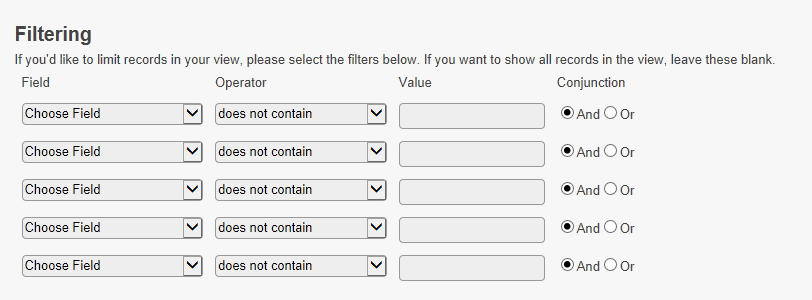
You can also add optional filters to the view, to only show data that meets certain requirements.
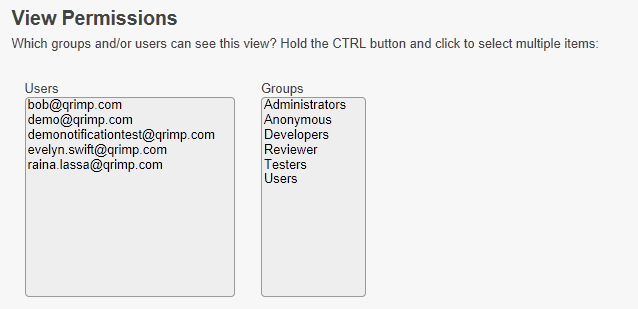
Select which users and/or groups can see the view:
Last but not least, click Save:

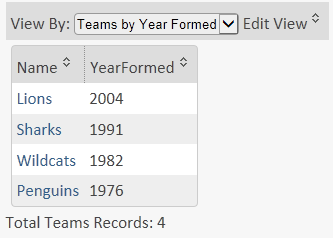
And then you have a view. This is a very simple view of Teams by year formed.