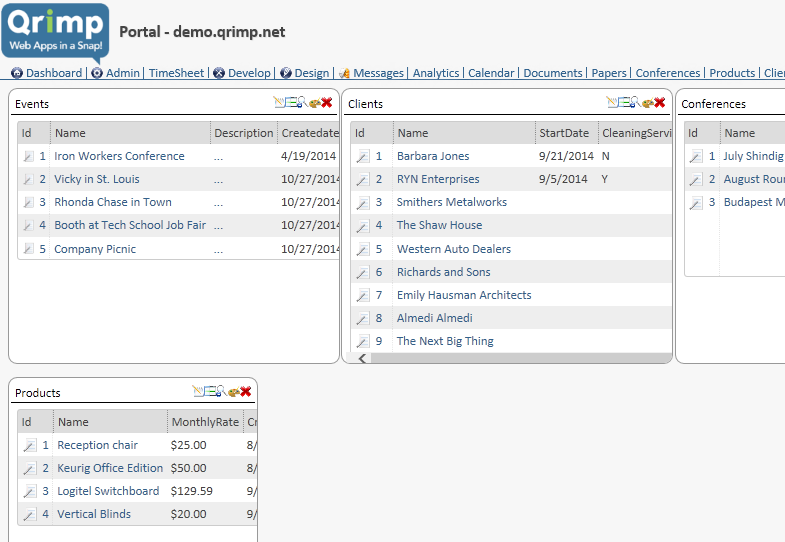
Portals are windows to your data that appear in boxes on your
dashboard. Your Dashboard is a collection of portal boxes. Each user must add or subscribe to their own set of portals. A user can either add a portal from the
grid view or subscribe to a portal.
Adding a Portal from Grid View
To add a portal from the
grid view:
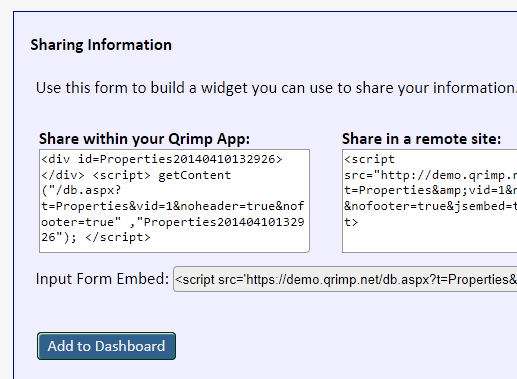
Go to the table you want to get data from > go to the bottom of the grid view > click the link that says "Share".

A box will appear with a button that says "Add to Dashboard". Click the Add to Dashboard button.
Enter a name for your dashboard.
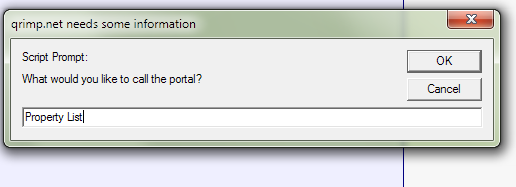
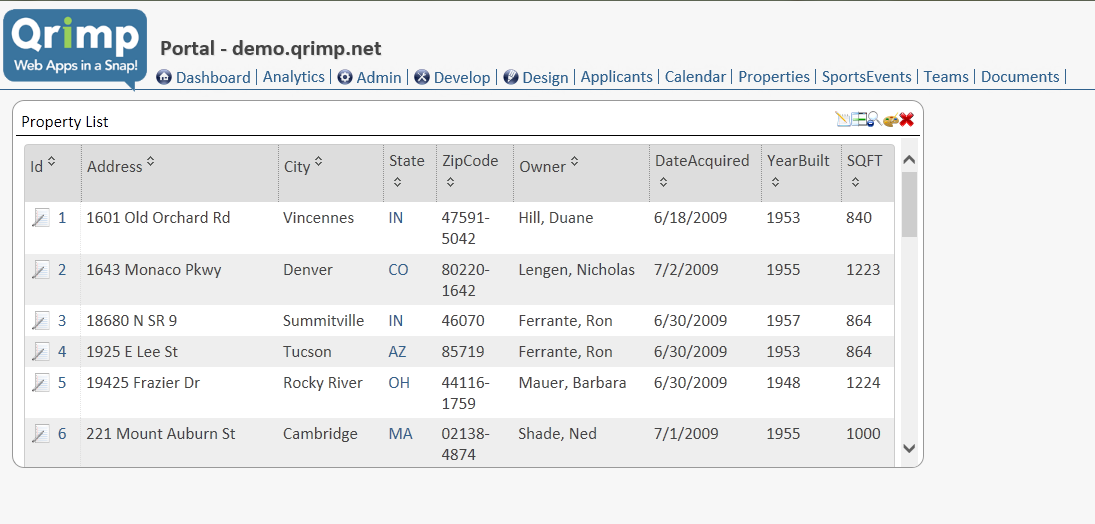
Another link will appear that lets you view your dashboard

Your portal window has been added.
Moving Portals
To move a portal, go to the top right corner of the square. Hover over the icon that looks like two windows

". It will turn to a multi-directional arrow

. Click and drag the arrow to move the portal to a spot before another portal square. The square you are moving it in front of will turn green.
Resizing Portals
To resize a portal, click the magnifying glass icon in the top right

. You can change it to be large, small or medium.
Customize Portal Background Colors
To choose a new background color for a portal, click the palette icon in the top right

. Different colors can help you quickly find data that looks the same.
Advanced: Manually Editing Portals
To edit a portal, click on the edit icon in the top right corner of the square

. This will take you to the edit view of that portal in the Portals table. Note: You can see all of the records in the portals table by going to Design > Portals.
Name: The Name of your portal window. Use a name that describes which data will appear in the portal and how it will appear. For example "Logins by Date", "Unpaid Bills" or "Red Shoes - Thumbnail images". The name you choose will appear in the header of the portal.
Description: Describe your portal to help you remember what it's about.
Template: Copy and paste a
ShareData script. The ShareData script is much like an embed tag. It links to your data, storing the table id, the sort on your data, search information, hiddencolumns and whatever else you tell it to. Advanced: add styles to your portals by using inline styles in the template field.
Link: The Portal Link specifies where the user will go if they click on the portal header.
Deleting Portals
To delete a portal from your home page, click the red X in the top left hand corner. You will be unsubscribed. To resubscribe, simply go to Home and find the link in the top left of the page that says "Add Portal".